In this article, We will learn that How to send Flutter Push Notification through Rest API -Laravel 8 Admin panel.
For Flutter Push Notification through Rest API, First of all, We have to create a Flutter app.
Open your Android Studio or Visual studio code and
create a new flutter project.
Now open your lib folder and open main.dart, and remove some commented codes.
main.dart
import 'home_page.dart';

void main() {
  runApp(MyApp());
}

class MyApp extends StatelessWidget {
  @override
  Widget build(BuildContext context) {
    return MaterialApp(
      debugShowCheckedModeBanner: false,
      title: 'Flutter Demo',
      theme: ThemeData(
        primaryColor: Colors.white,
        visualDensity: VisualDensity.adaptivePlatformDensity,
      ),
      home: HomePage(),
    );
  }
}
Create a new dart file for HomePage and create a stateful widget class
home_page.dart
import 'package:flutter/material.dart';

class HomePage extends StatefulWidget {
  @override
  _HomePageState createState() => _HomePageState();
}

class _HomePageState extends State<HomePage> {
  @override
  Widget build(BuildContext context) {
    return Container();
  }
}
Add pubspec.yml dependencies.
Now go to pubspec.yml file and add some firebase plugin
which is required for receive push notification in the app and run pub get.
pubspec.yml
firebase_messaging:
firebase_core:
Firebase Cloud Messaging API
After finishing the above steps you have to implement Firebase Cloud Messaging API for Flutter.
FirebaseMessaging _firebaseMessaging = FirebaseMessaging();
Now we have to implement token registration on Firebase.
_registerOnFirebase() {
_firebaseMessaging.subscribeToTopic('all');
_firebaseMessaging.getToken().then((token) => print(token));
}
Set onBackgroundMessage handler when calling configure.
void getMessage() {
_firebaseMessaging.configure(
onMessage: (Map<String, dynamic> message) async {},
onResume: (Map<String, dynamic> message) async {},
onLaunch: (Map<String, dynamic> message) async {});
}
Connect Flutter app with firebase console
Now add this flutter app with the firebase console. you can read our article
for integrating the app to the firebase console.
Download the google_services.json file from the firebase console and paste it into the android/app directory.
Add the classpath to the [project]/android/build.gradle
dependencies {
  // Example existing classpath
  classpath 'com.android.tools.build:gradle:3.5.3'
  // Add the google services classpath
  classpath 'com.google.gms:google-services:4.3.2'
}
Add the apply plugin to the [project]/android/app/build.gradle file.
apply plugin: 'com.google.gms.google-services'
Go to android/app/src/main/AndroidManifest.xml and add the following intent-filter into the activity.
<intent-filter>
      <action android:name="FLUTTER_NOTIFICATION_CLICK" />
      <category android:name="android.intent.category.DEFAULT" />
  </intent-filter>
Now add the
com.google.firebase:firebase-messaging
dependency in your app-level
build.gradle
the file that is typically located at android/app/build.gradle.
dependencies {
  // ...
  implementation 'com.google.firebase:firebase-messaging:<latest_version>
  implementation 'com.android.support:multidex:1.0.3'
}
Now Run your flutter app. and after successfully running the app go to the firebase console and Under engage click on Cloud messaging and send a test push notification.
OutPut
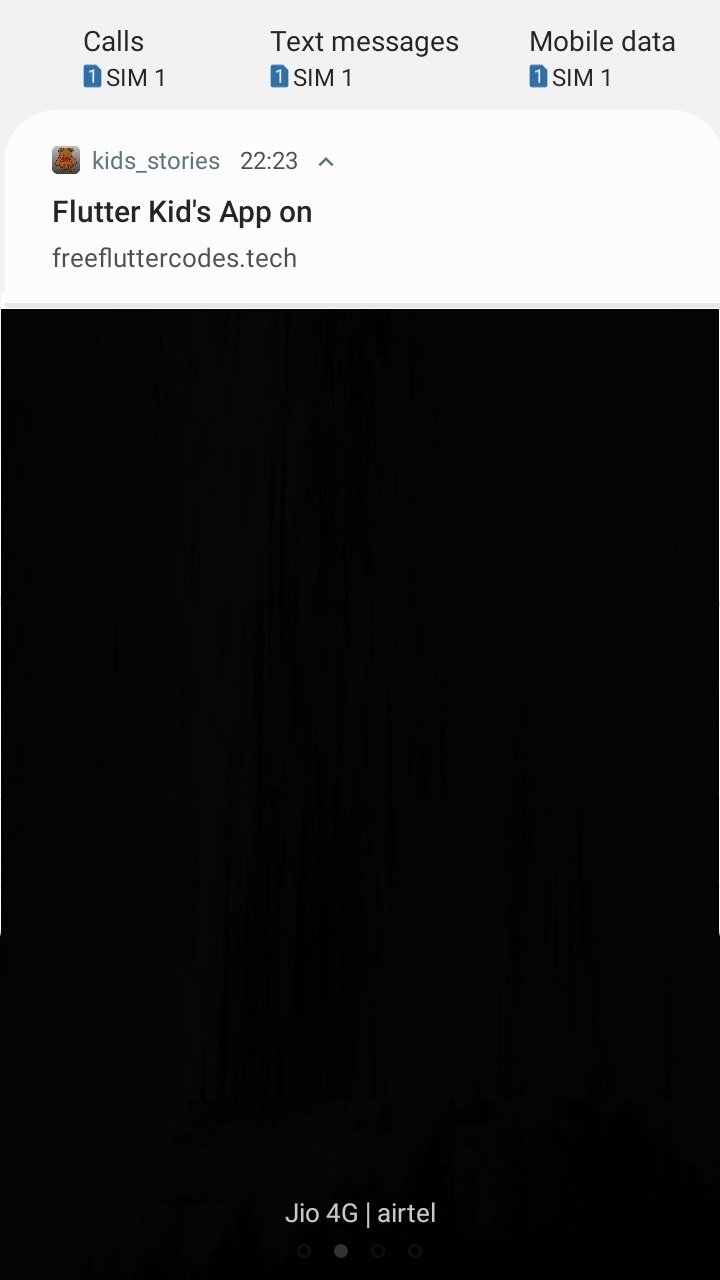
You will get a notification to your app.
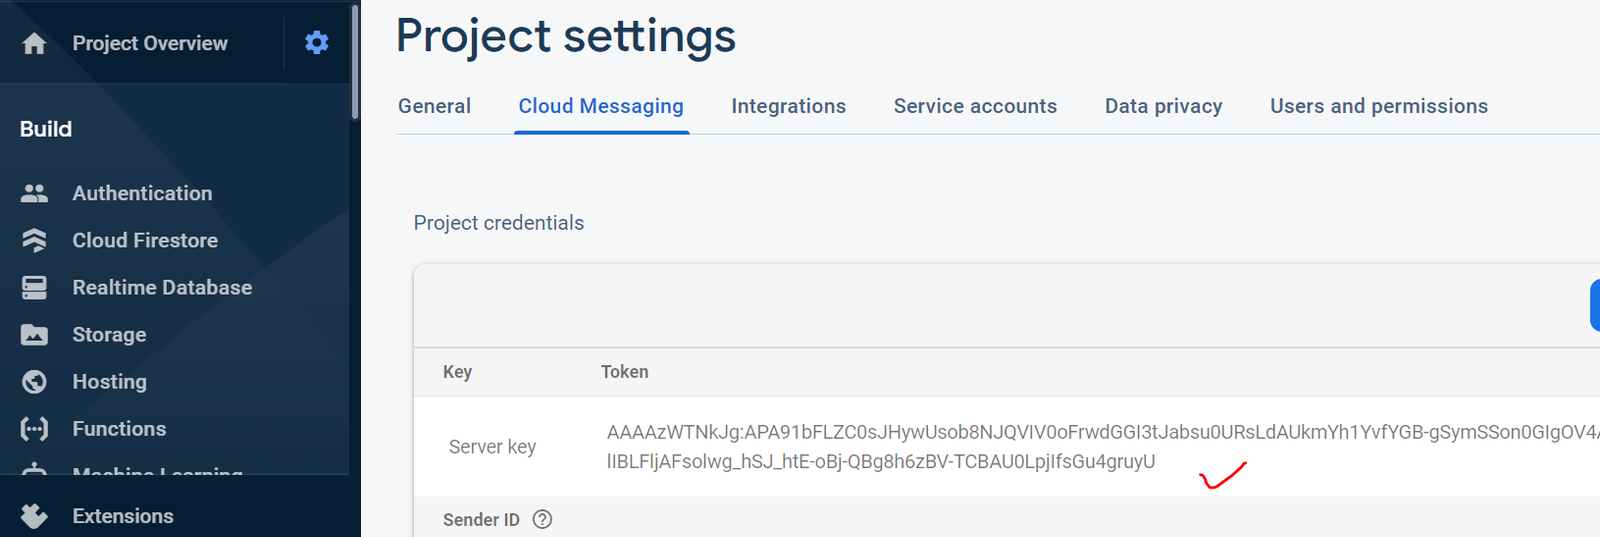
Save Cloud messaging server key
Now go to the project overview setting in the firebase console and click on
cloud messaging and save the server key.
Now We have to implement push notifications via our Laravel Admin Panel.
Create New Laravel Project or your existing laravel project.
and make model and controller for Push Notification by following commands.
php artisan make:model PushNotification
and for the controller,
php artisan make:controller PushNotificationController -mcr
this command will create a migration, resourceful controller.
Now open your .env file and provide the credential of MySQL database if not connected before.
Now to create the table in the database run
php artisan migrate
and go to PHPMyAdmin and select table push_notifications and add 3 columns.
title, body, image.
Now go to app/http/controllers/PushNotificationController.php and replace the following codes.
PushNotificationController.php
class PushNotificationController extends Controller
{
    /**
     * Display a listing of the resource.
     *
     * @return \Illuminate\Http\Response
     */
    public function index()
    {
        $push_notifications = PushNotification::orderBy('created_at', 'desc')->get();
        return view('notification.index', compact('push_notifications'));
    }
    public function bulksend(Request $req){

        $comment = new PushNotification();
        $comment->title = $req->input('title');
        $comment->body = $req->input('body');
        $comment->img = $req->input('img');
        $comment->save();


        $url = 'https://fcm.googleapis.com/fcm/send';
        $dataArr = array('click_action' => 'FLUTTER_NOTIFICATION_CLICK', 'id' => $req->id,'status'=>"done");
        $notification = array('title' =>$req->title, 'text' => $req->body, 'image'=> $req->img, 'sound' => 'default', 'badge' => '1',);
        $arrayToSend = array('to' => "/topics/all", 'notification' => $notification, 'data' => $dataArr, 'priority'=>'high');
        $fields = json_encode ($arrayToSend);
        $headers = array (
            'Authorization: key=' . "AAAAzWTNkJg:APA91bFLZC0sJHywUsob8NJQVIV0oFrwdGGI3tJabsu0URsLdAUkmYh1YvfYGB-gSymSSon0GIgOV4AnzrtlIBLFljAFsolwg_hSJ_htE-oBj-QBg8h6zBV-TCBAU0LpjIfsGu4gruyU",
            'Content-Type: application/json'
        );

        $ch = curl_init ();
        curl_setopt ( $ch, CURLOPT_URL, $url );
        curl_setopt ( $ch, CURLOPT_POST, true );
        curl_setopt ( $ch, CURLOPT_HTTPHEADER, $headers );
        curl_setopt ( $ch, CURLOPT_RETURNTRANSFER, true );
        curl_setopt ( $ch, CURLOPT_POSTFIELDS, $fields );

        $result = curl_exec ( $ch );
        //var_dump($result);
        curl_close ( $ch );
        return redirect()->back()->with('success', 'Notification Send successfully');

    }

    /**
     * Show the form for creating a new resource.
     *
     * @return \Illuminate\Http\Response
     */
    public function create()
    {
        return view('notification.create');
    }


    /**
     * Remove the specified resource from storage.
     *
     * @param  \App\Models\PushNotification  $pushNotification
     * @return \Illuminate\Http\Response
     */
    public function destroy(PushNotification $pushNotification)
    {
        //
    }
}
web.php
// Notification Controllers
    Route::post('send',[PushNotificationController::class, 'bulksend'])->name('bulksend');
    Route::get('all-notifications', [PushNotificationController::class, 'index']);
    Route::get('get-notification-form', [PushNotificationController::class, 'create']);
Make sure to import Namespace carefully at the top.
use App\Http\Controllers\PushNotificationController;
After completing this step, create a notification folder in the views directory inside the resources folder. In the notification folder, create a blade file and make form fields and paste.
create.blade.php
<form action="{{route('bulksend')}}" method="post" enctype="multipart/form-data">
        @csrf
        <div class="form-group">
            <label for="exampleInputEmail1">Title</label>
            <input type="text" class="form-control" id="exampleInputEmail1" aria-describedby="emailHelp" placeholder="Enter Notification Title" name="title">
        </div>
        <div class="form-group">
            <label for="exampleInputEmail1">Message</label>
            <input type="text" class="form-control" id="exampleInputEmail1" aria-describedby="emailHelp" placeholder="Enter Notification Description" name="body" required>
        </div>
        <div class="form-group">
            <label for="exampleInputEmail1">Image Url</label>
            <input type="text" class="form-control" id="exampleInputEmail1" aria-describedby="emailHelp" placeholder="Enter image link" name="img">
        </div>
        <button type="submit" class="btn btn-primary">Send Notification</button>
    </form>
    <script>
        function loadPhoto(event) {
            var reader = new FileReader();
            reader.onload = function () {
                var output = document.getElementById('photo');
                output.src = reader.result;
            };
            reader.readAsDataURL(event.target.files[0]);
        }
    </script>
Now run the server by
php artisan serve
and open URL http://localhost:8000/get-notification-form
You will get That your push notification form is ready to send the notification.
Thanks for reading my article.
FAQs Related to Flutter
How do I use FCM in Flutter?
For push notifications to send on the flutter app, We have to integrate firebase cloud messaging API into the flutter app.
Is it worth learning Flutter in 2021?
of course, Flutter is getting adopted by the developers very frequently because It is providing very fast UI designing and developers are loving it, because of providing cross-platform output Description
Should I learn Dart before Flutter?
Yes, If you have no prior knowledge of any programming language before, then You should learn dart before starting to learn Flutter, but If you have knowledge of C, C++, or Java then you can jump to Flutter.
I am passionate about learning and teaching new technology. Here You will get all information about Flutter, Laravel and New Technologies.


With Photo Editor, you give a new look by editing your photos. Through photo editing tools you can make any kind of change with any image or photo.
In today’s time, there are more than a million photo editing applications at different play stores, but not all applications are popular due to some of their shortcomings. Today I am going to tell about the Top 5 Photo Editor Android Application, which I used myself and then suggest you.
Note: It takes a little time to learn any photo editing apps, it is not that you do not know very well about any tools and you can suddenly edit.
Hi thanks for your awesome article, where to put FirebaseMessaging _firebaseMessaging = FirebaseMessaging(); ?
outside of the main build Widget.

Can you make a video for that? they can make a videos, it is not well understood
Okay, I will make a video soon.
thanks
But I can send cloud messaging by firebase console, but on my laravel dashboard notification hadn't delivered
I did all steps but changed Key with my Cloud messaging server key
Carefully match every step and make sure you have written route URL in web.php route and imported every namespace. If still didn't work, then provide me your code, I will help you.
Thanks for your reply,
I did all steps, and form works fine but after Submit It says "Notification Send successfully" and stored data to my Database .. But the message hadn't received on my mob or firebase console
Note: If I send the message from firebase console, received it on my mob
I have mailed you the details in your mail id.
you like it Shear your number ya connect with me Developer
This is not working app,it is crashing.
Good day Pramod. Thank you for the helpful tutorial. Is it possible if you can send me the code or point me to your repo because I am getting a bit lost. Thank you.
Hi!
How to specify which users of my app will receive the notifications? or where do I have to specify the selected users to receive the notifications?
I will try to write an article on this topic very soon.
when your video come on Api Using With Flutter And Laravel For Push
Notification